Connect HubSpot to Zenzap
Connect your HubSpot account to Zenzap to receive real-time updates and notifications about contacts, companies, deals, and form submissions in dedicated Zenzap chats.
On Mobile (iOS & Android)
Follow these steps to set up the HubSpot app and configure your notifications in Zenzap.
Initial Setup and Authorization
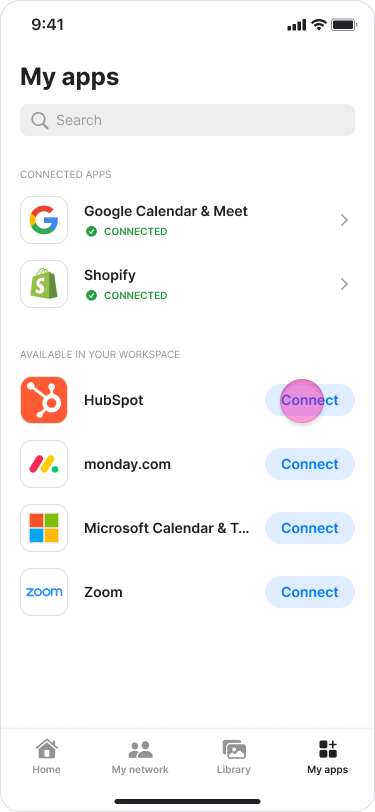
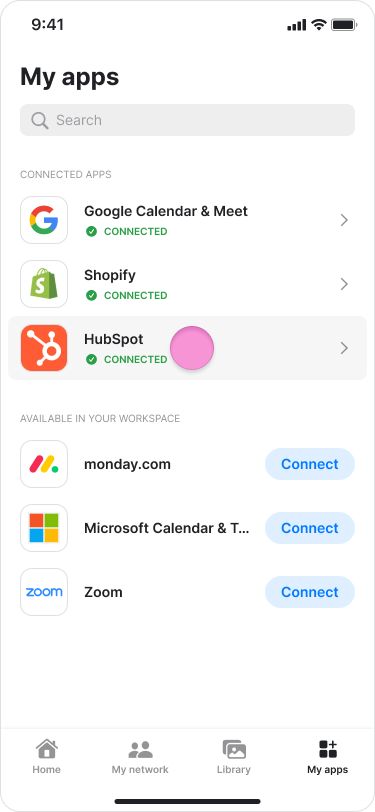
In Zenzap, go to "My apps".

Find "HubSpot" and tap "Connect".
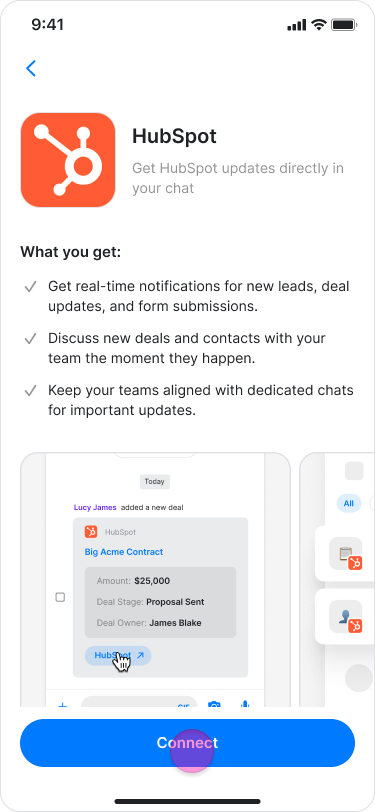
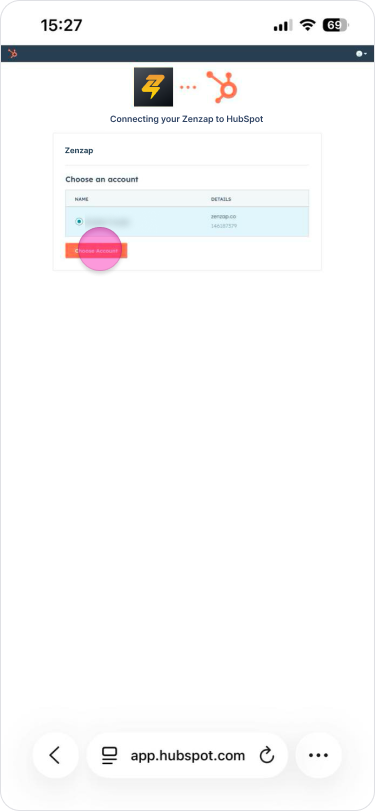
On the HubSpot app screen, tap "Connect" again
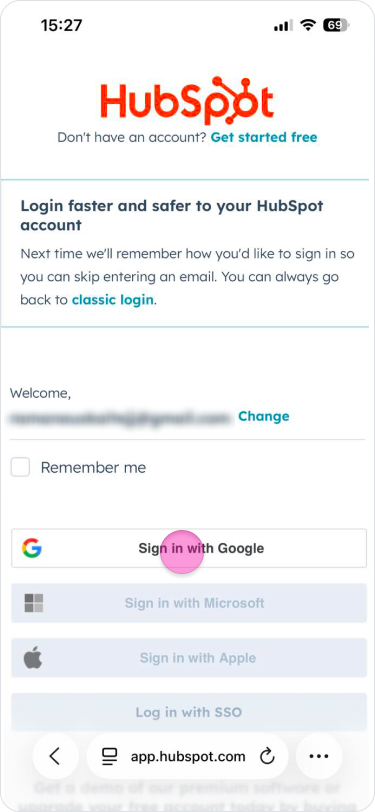
On the secure HubSpot page, choose "Sign in to your HubSpot account".
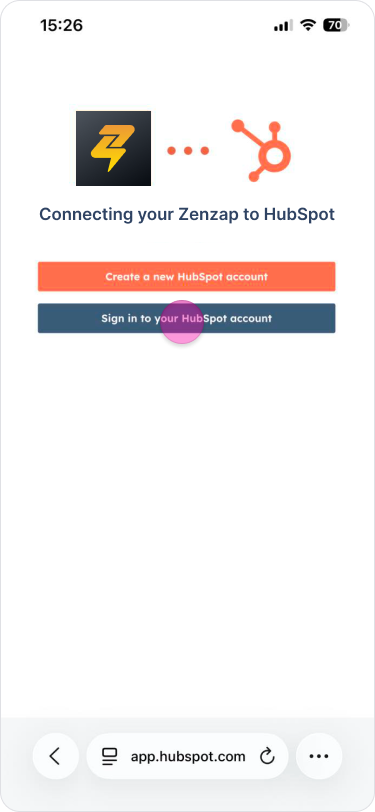
Sign in to your HubSpot account or use an SSO option (Google, Microsoft, Apple, etc.).
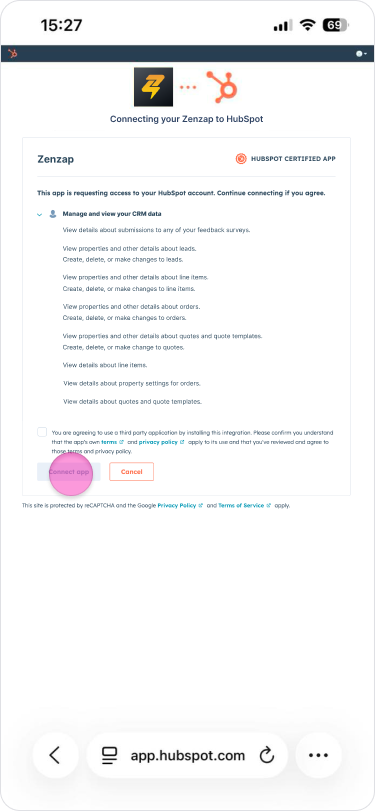
On the HubSpot authorization screen, review the requested permissions for your CRM data and basic OAuth access.
Click "Connect app" and grant access.
Note: The app requests access to manage and view your CRM data to read relevant properties (e.g., names, stages, owners, amounts) for chat notifications, receive updates for contacts, companies, deals, and form submissions, and read property settings.
Configure Notifications
You will be redirected back to Zenzap.
On the "Choose notifications" screen, select which HubSpot events should create messages in a dedicated Zenzap chat:
New contact added
Contact assigned
Contact details updated
New company added
Company info updated
New deal created
Deal updated
New form submission
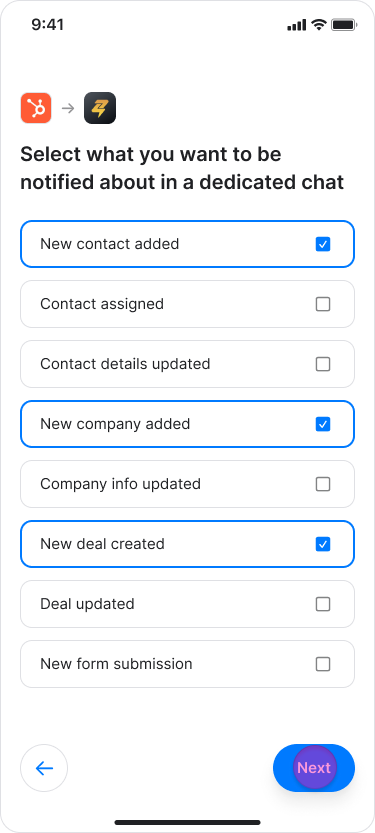
Tap "Next" and choose the people that you want to add to each group chat.
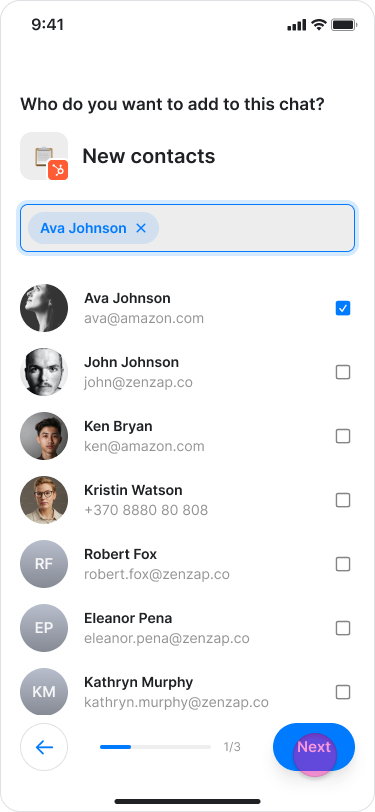
Tap "Done" to finish setup.

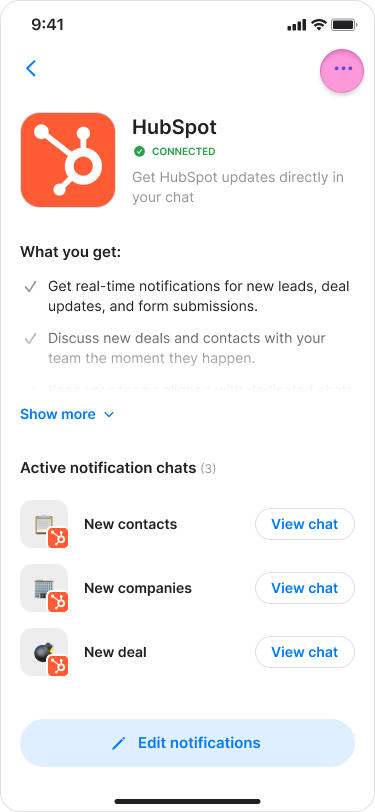
Use and Manage the App
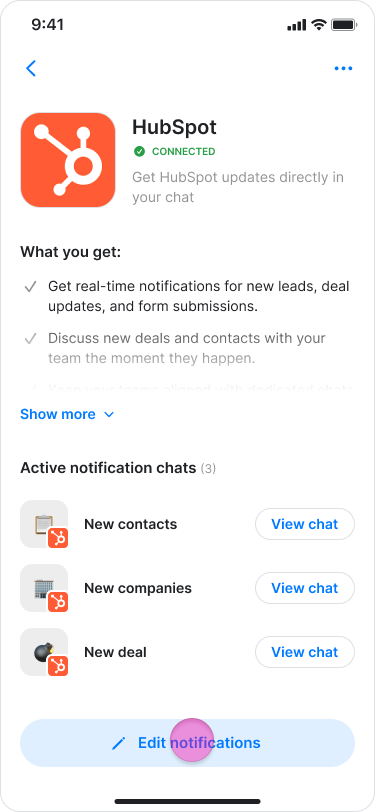
After setup, Zenzap creates a dedicated chat for each HubSpot event type you enabled (e.g., "New contacts", "New deal created"). When a matching event occurs in HubSpot, the app posts a structured message in the relevant chat with key details and a link back to the HubSpot record.
You can adjust which events generate messages at any time:
Go to "My apps".

Tap "HubSpot".

Tap "Edit notifications".
Turning a notification off stops new alerts for that event type and posts a final system message in the corresponding chat.
Disconnect the App
In Zenzap, go to "My apps".
Tap "HubSpot" to open the app screen.
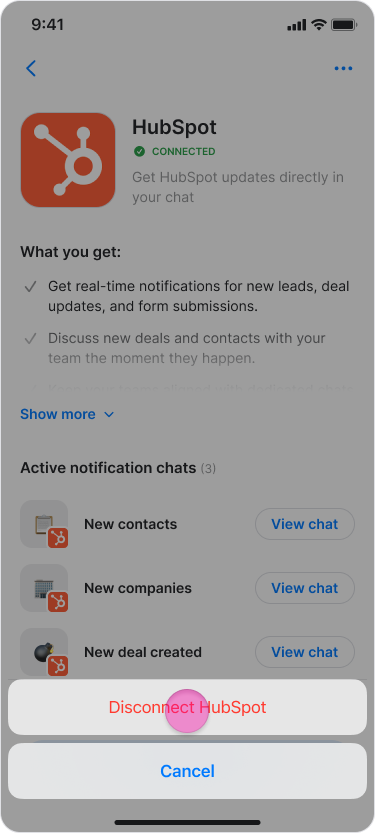
Open the menu (•••) and choose "Disconnect HubSpot".
Tap "Disconnect" and "Disconnect" again.
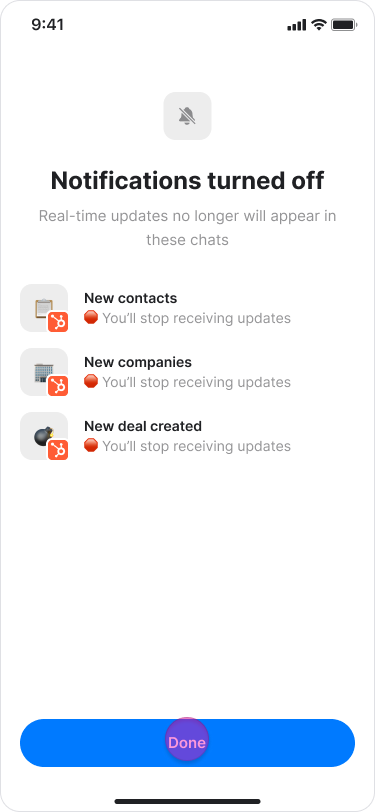
A "Notifications turned off" screen will list the chats that will no longer receive updates; tap "Done".
Note: Disconnecting the app stops all HubSpot notifications to Zenzap. Existing messages in your chats will not be removed.
Uninstall the App
To uninstall Zenzap from your HubSpot account, follow the instructions in this HubSpot Knowledge Base article.