
Merging Workspaces
Connect your two separate workspaces into one to centralize your team's communication and data management.
Access: Workspace Admins
On Mobile (iOS & Android)
Merging one workspace into another is a two-step process. To initiate the merge, start from the workspace you want to keep and continue using (See step 1). To finalize the merge, the workspace being merged will need to complete the process on their end (See step 2).
Step 1: The Workspace That Will Remain Active
An admin of the workspace that will remain active needs to follow these instructions:
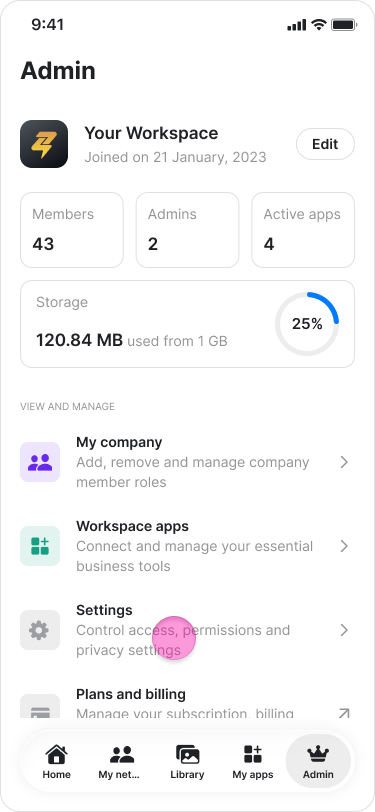
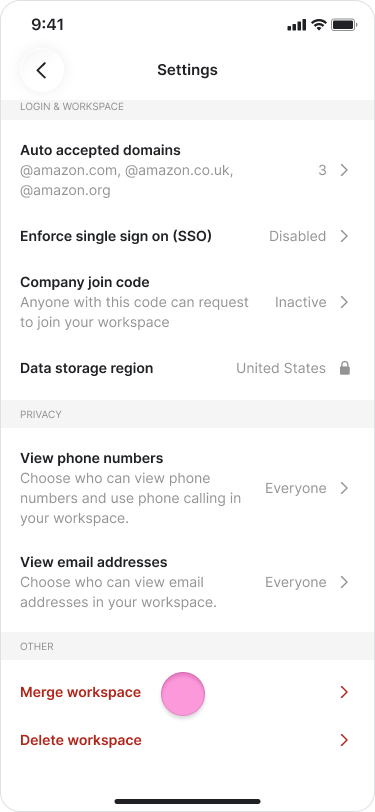
Tap the "Admin" tab at the bottom of the screen.
Tap "Settings".

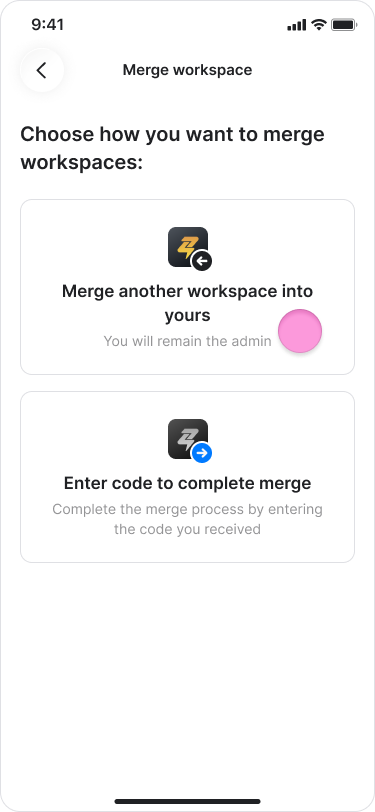
Tap "Merge workspace".

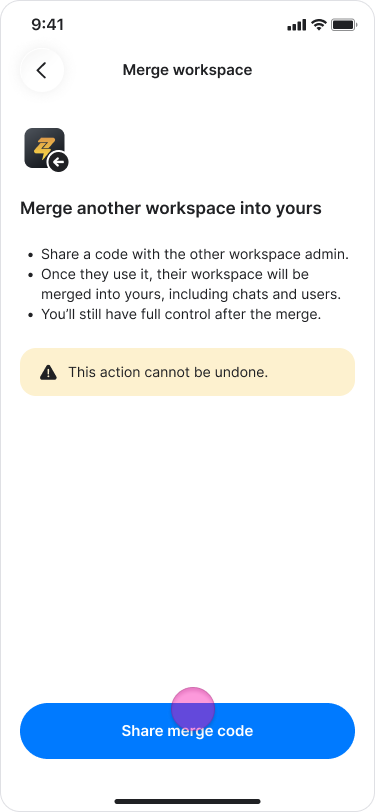
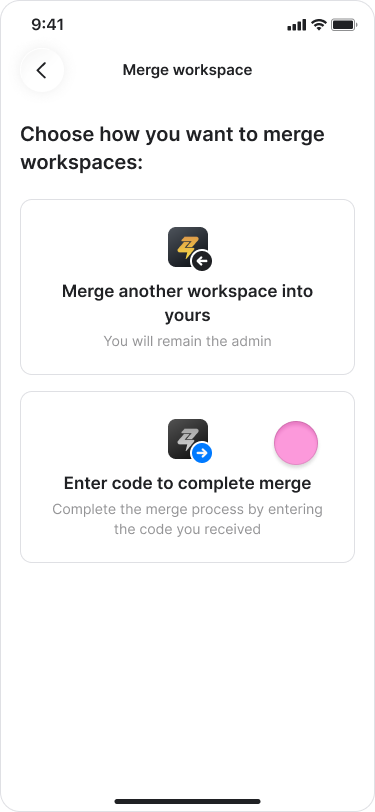
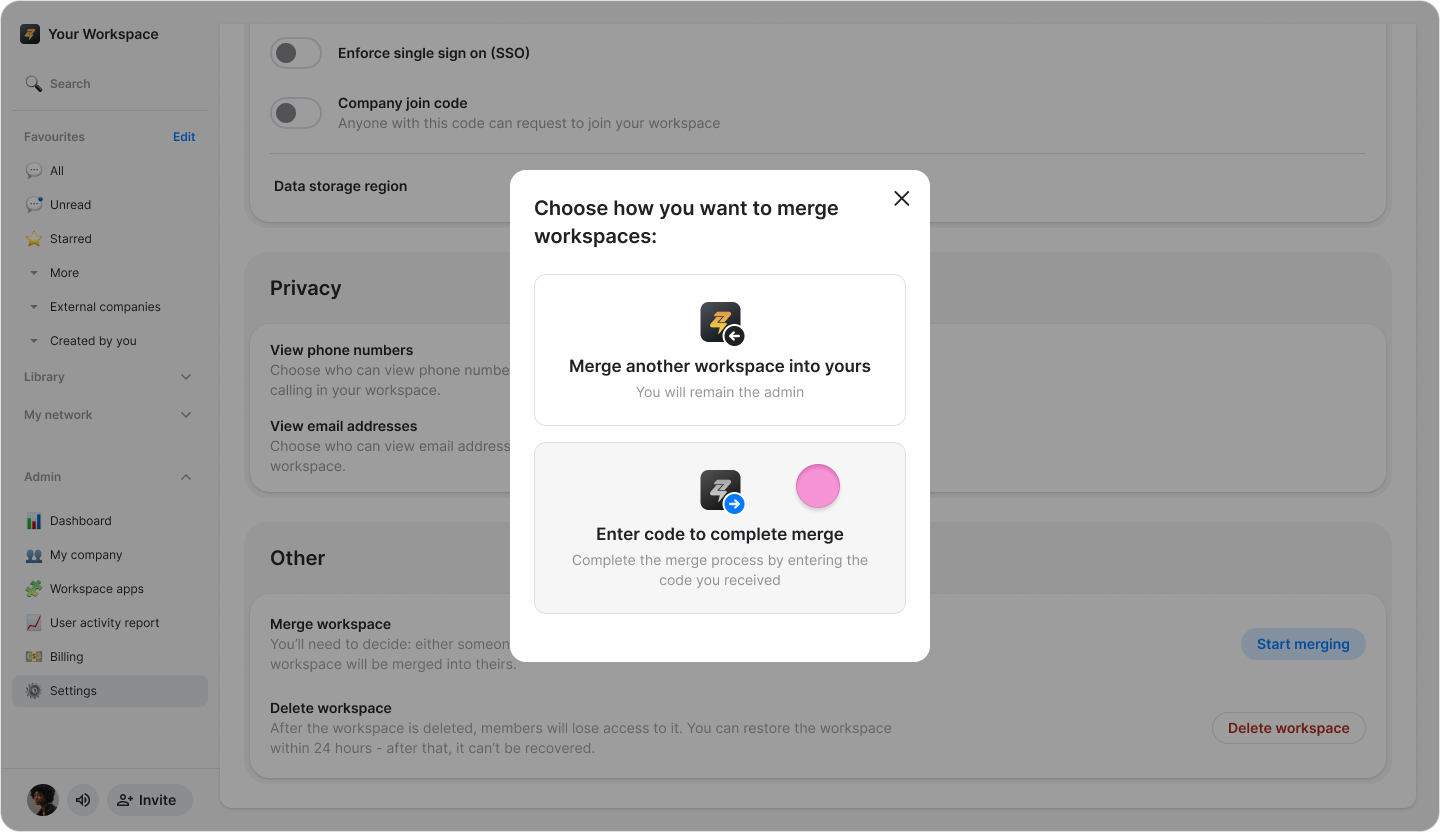
Choose "Merge another workspace into yours".
Tap "Share merge code".
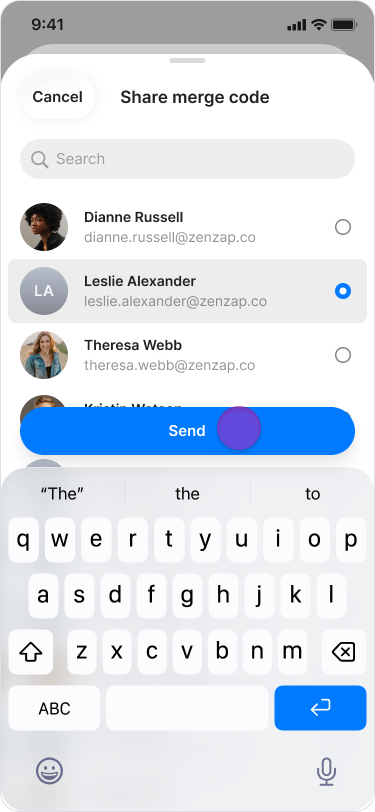
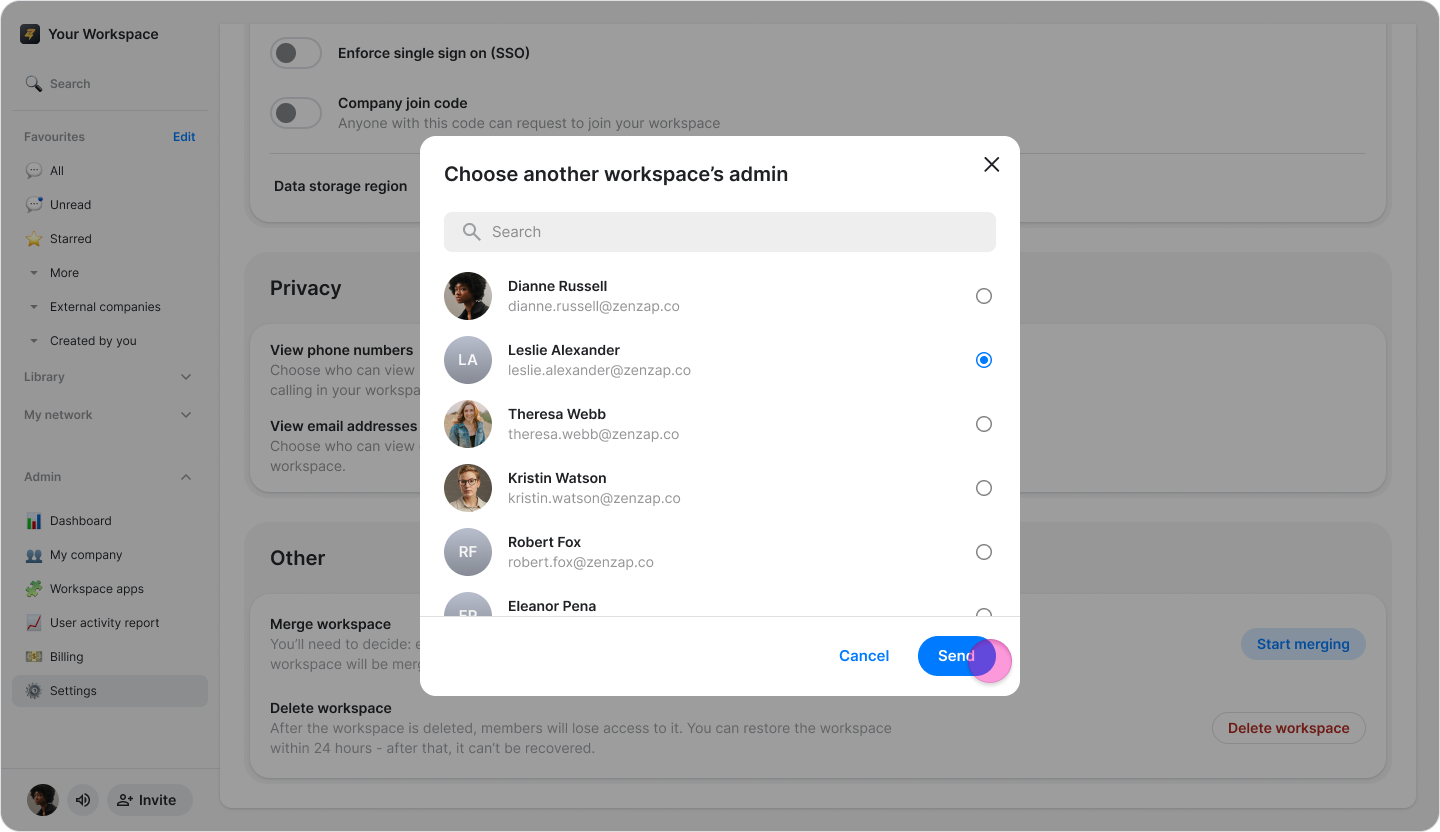
Search for or select the admin of the workspace you want to merge into yours.
Note: If you cannot find the admin of the other workspace in the list, you must invite them to a direct message chat first.
Tap "Send".
Tap "Confirm" on the pop-up message to approve the merge and "Done" on the finishing screen.
Note:
Make sure to share the code with an Admin in the other workspace.
Once they use the code, their workspace will merge into yours and this action cannot be reversed.
Step 2: The Workspace That Will Be Merged
After receiving the code, an admin of the workspace that will be merged should follow these steps to complete the process:
Tap the "Admin" tab at the bottom of the screen.
Tap "Settings".
Tap "Merge workspace".
Choose "Enter code to complete merge".
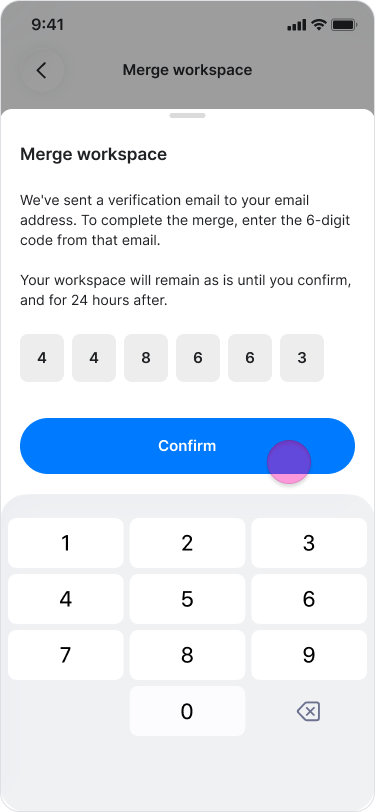
Type the code you received from the admin of the workspace you want to join.
Tap "Confirm"
Tap "Confirm" on the pop-up message to approve the merge and "Done" on the finishing screen.
Note:
Once complete, your workspace will no longer exist separately and you will receive the name of the workspace you merged into.
The merge will take place after 24 hours. Once completed, the merge cannot be undone.
When your workspace is merged into another workspace, any auto domain sign-up settings configured in your workspace will also be transferred over.
On Desktop (Windows, macOS, & Web App)
Merging one workspace into another is a two-step process. To initiate the merge, start from the workspace you want to keep and continue using. To finalize the merge, the workspace being merged will need to complete the process on their end.
Step 1: The Workspace That Will Remain Active
An admin of the workspace that will remain active needs to follow these instructions:
Click on "Organization" in the side menu on Windows and Web, or click "Settings" under the "Admin" section on macOS.
Scroll to the bottom.
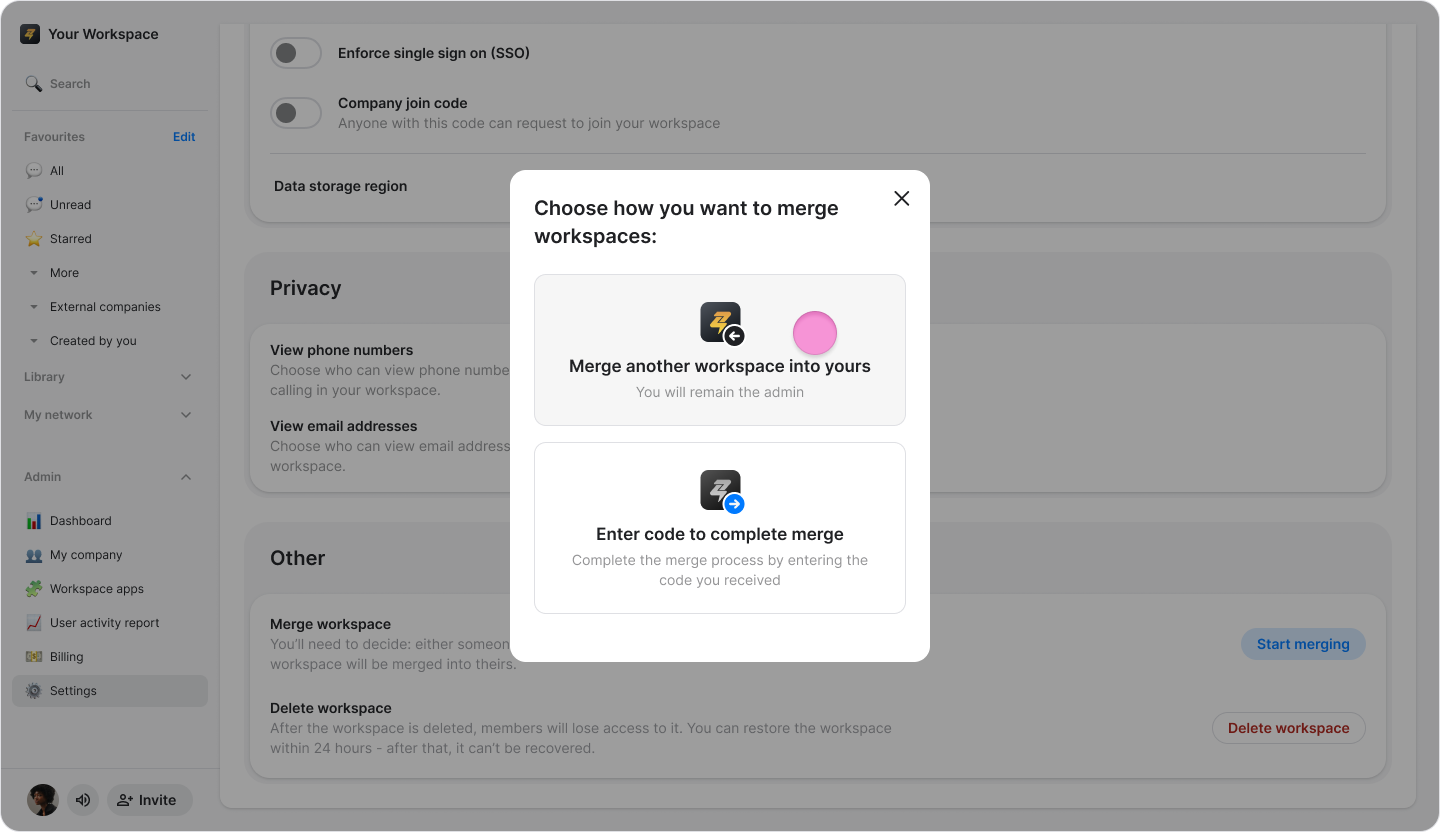
Click "Start merging".

Choose "Merge another workspace into yours".
Click "Next" on the pop-up message to start the merge.
Search for or select the admin of the workspace you want to merge into yours.
Note: If you cannot find the admin of the other workspace in the list, you must invite them to a direct message chat first.
Click "Send".
Tap "Confirm" on the pop-up message to approve the merge and "Done" on the finishing screen.
Note:
Make sure to share the code with an Admin in the other workspace.
Once they use the code, their workspace will merge into yours and this action cannot be reversed.
Step 2: The Workspace That Will Be Merged
After receiving the code, an admin of the workspace that will be merged should follow these steps to complete the process:
Click "Organization" in the side menu on Windows and Web, or click "Settings" under the "Admin" section on macOS.
Click "Start merging".

Choose "Enter code to complete merge".
Type the code you received via email from the workspace you want to be part of.
Click "Confirm".

Tap "Confirm" again on the pop-up message to approve the merge and "Done" on the finishing screen.
Note:
Once complete, your workspace will no longer exist separately and you will receive the name of the workspace you merged into.
It will be 24 hours until the workspace is merged.