
Create Teams and Locations
Create a communication structure that matches how your business actually operates by grouping users into specific teams or locations.
Access: Workspace Admins
On Mobile (iOS & Android)
Create a Team or Location
You can create different teams to make mentions easier and to separate communication. Grouping people by team, location, or project ensures everyone only sees what is relevant to their role.
Follow these steps to organize your teams and locations:
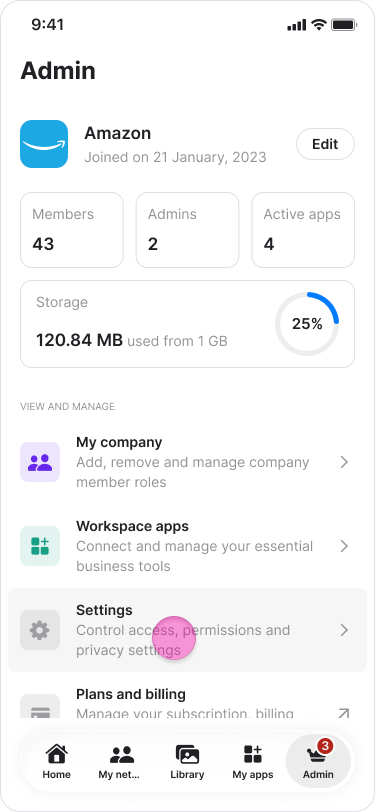
Tap the "Admin" tab at the bottom of the screen.
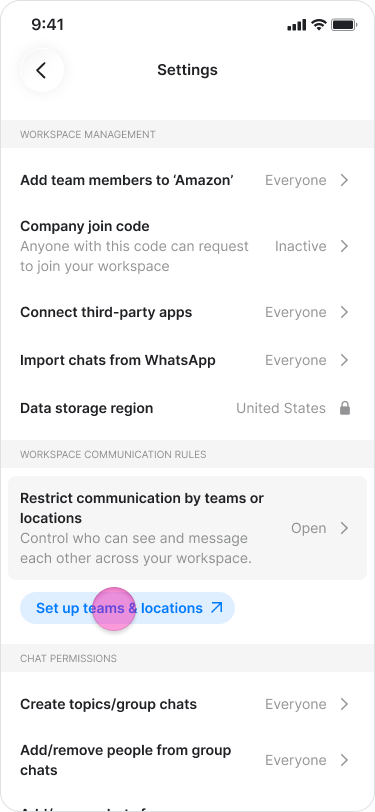
Tap "Settings" on iOS, or "Workspace settings" on Android.

.
Tap “Set up teams & locations”.
.
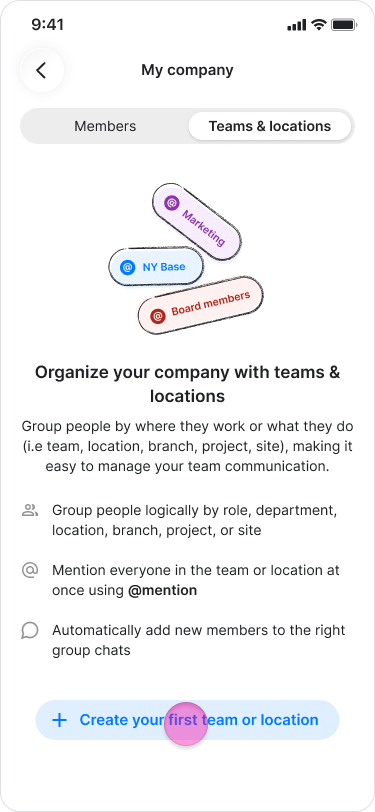
Tap "+ Create your first team or location" on iOS, or "+ Add team/location" on Android.
.
Tap “Next”.
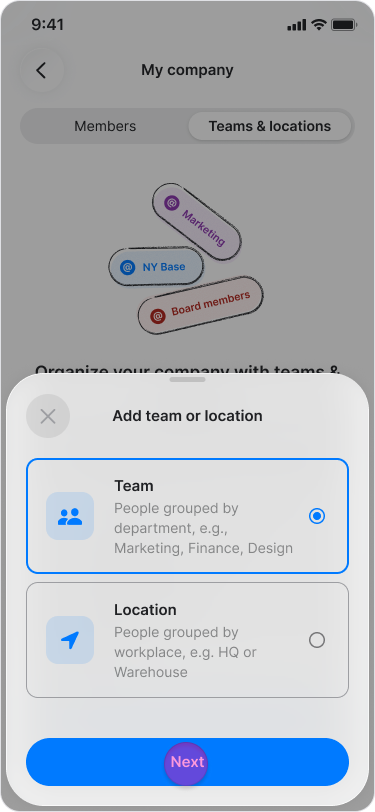
Choose “Team” if you want to group by department.
Choose “Location” if you want to group by office site.
.
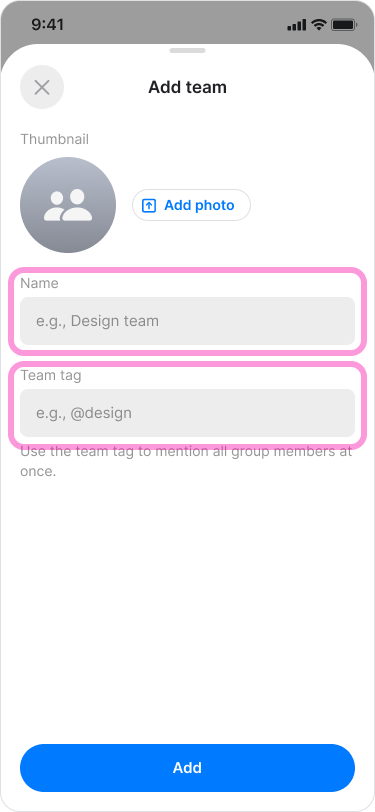
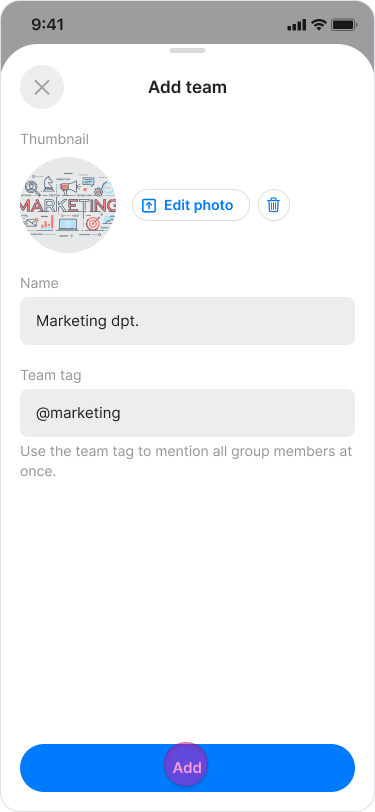
Enter a name and tag.
.
Tap “Add”.
.
Note:
Teams and locations function identically; choose the grouping that best fits your company structure.
Group separation is workspace-wide and affects all members.
To view all existing groups and their participants, tap "Set up teams & locations".
Add Members
Tap the "Admin" tab at the bottom of the screen.
Tap "Settings" on iOS, or "Workspace settings" on Android.

.
Tap “Set up teams & locations”.

.
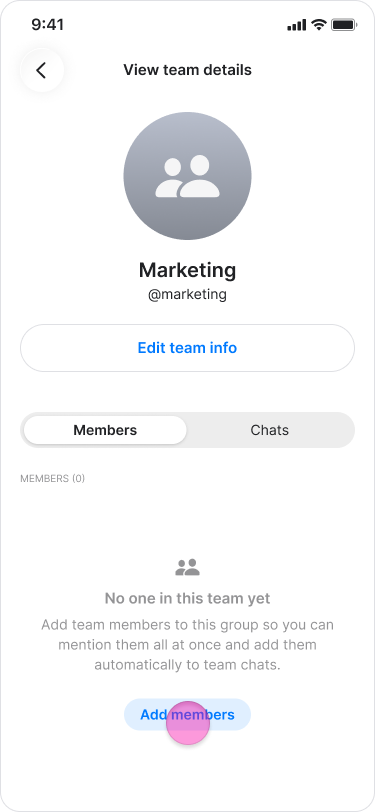
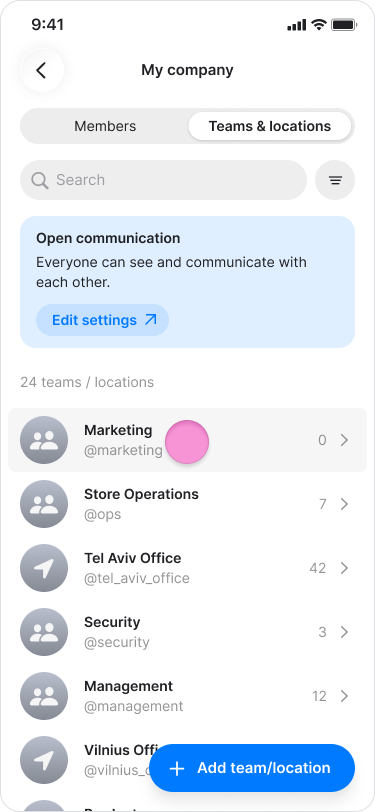
Tap the team or location name.

.
Tap “Add members”.
.
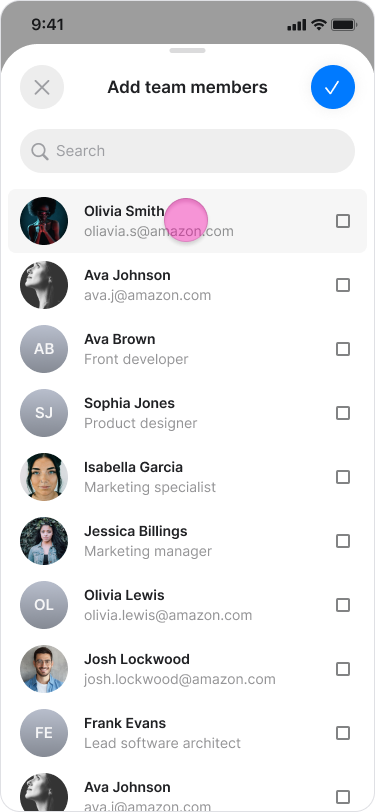
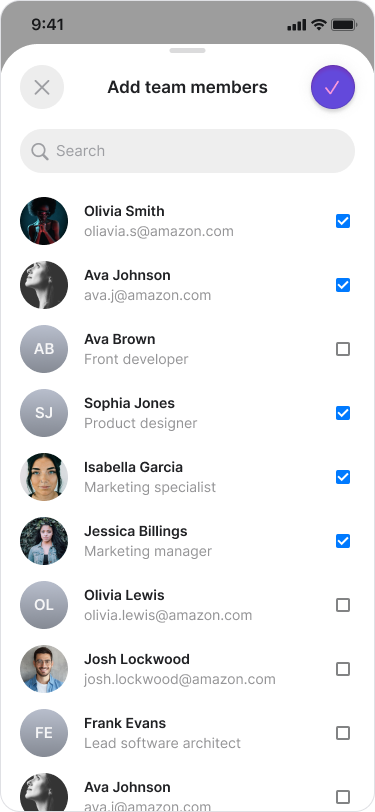
Choose or search for the users you want to add.
.
Tap “Add”.
.
Note: You can edit group information or add new members at any time.
Remove Members
Tap the "Admin" tab at the bottom of the screen.
Tap "Settings" on iOS, or "Workspace settings" on Android.
.
Tap “Set up teams & locations”.

.
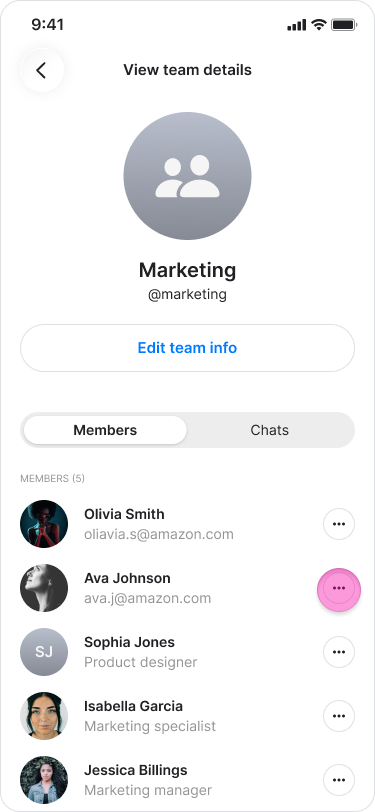
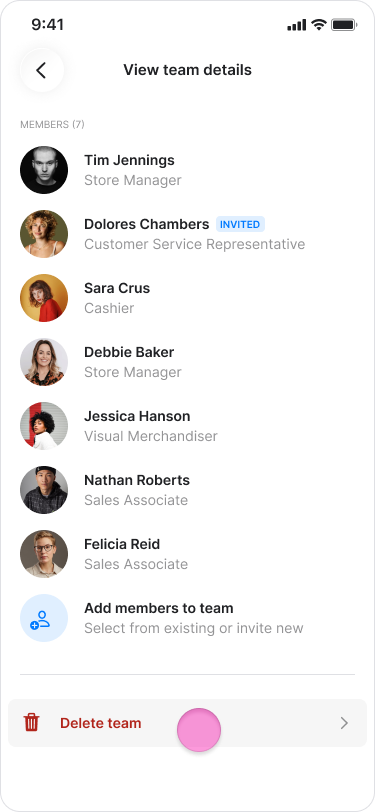
Tap the team or location name.
.
Tap the "three dots” icon next to the member's name.
.
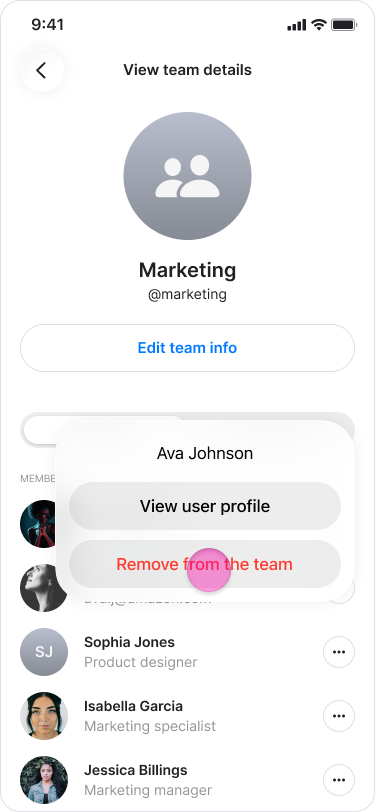
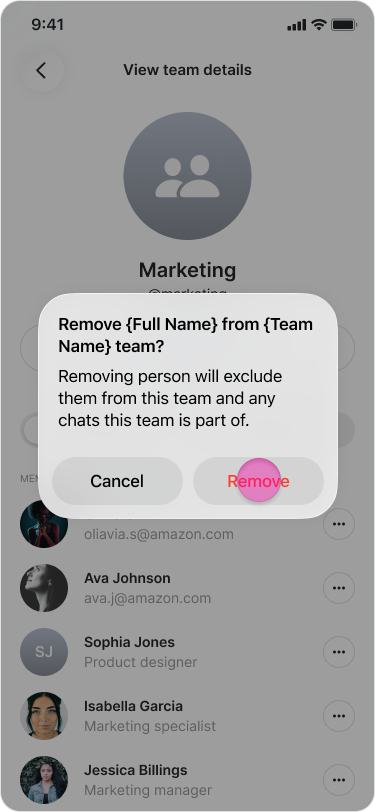
Choose “Remove from the team”.
.
Tap "Remove" to confirm.
.
Delete a Team or Location
Tap the "Admin" tab at the bottom of the screen.
Tap "Settings" on iOS, or "Workspace settings" on Android.

.
Tap “Set up teams & locations”.

.
Tap the team or location name.

.
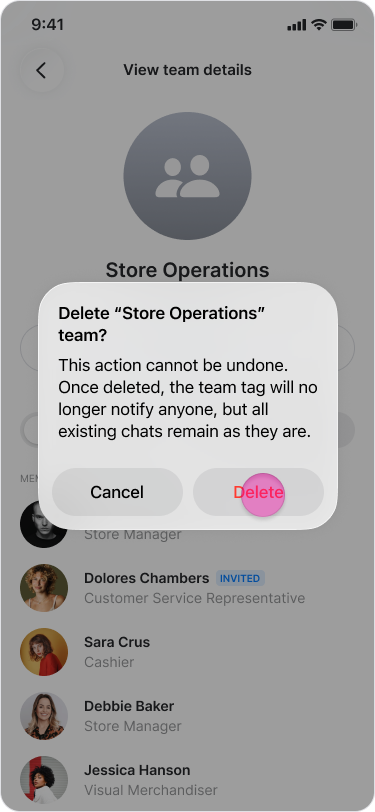
Tap "Delete team".
.
Tap "Delete" to confirm.
.
On Desktop (Windows, macOS, & Web App)
Create a Team or Location
You can create different teams to make mentions easier and to separate communication. Grouping people by team, location, or project ensures everyone only sees what is relevant to their role.
Follow these steps to organize your teams and locations:
Click on “[workspace’s name] admin” in the side menu.
Click “Teams & Locations” at the top.
Click “+ Create your first team or location”.
Choose “Team” if you want to group by department.
Choose “Location” if you want to group by office site.
Click “Next”.
Enter the name and tag.
Click “Add”.
Note:
Teams and locations function identically; choose the naming convention that best fits your company's hierarchy.
Group separation is workspace-wide and affects all members.
Click "Set up teams & locations" to view all groups and their members.
Add Members
Click on “[workspace’s name] admin” in the side menu.
Click “Teams & Locations” at the top.
Click on the group you want to add people to.
Click "Add members" in the side window.
Choose or search for the people you want to add.
Click “Add”.
Note: You can edit group information or add members at any time.
Remove Members
Click on “[workspace’s name] admin” in the side menu.
Click “Teams & Locations” at the top.
Click on the group you want to remove people from.
Click the "three dots icon" next to the member's name in the side window.
Choose “Remove from the team”.
Click "Remove" to confirm.
Delete a Team or Location
Click on “[workspace’s name] admin” in the side menu.
Click “Teams & Locations” at the top.
Click the name of the group you want to remove.
Click "Delete team" at the bottom of the side window.
Click "Delete" to confirm
Note: To quickly delete a team or location on Windows and Web, click the three dots icon next to the group name.